Composting for Beginners

Joe Pedroza • November 26, 2024

A Simple Guide to Turning Scraps Into Soil Gold

A wooden crate filled with vegetables is sitting in the grass.

Composting is one of the easiest ways to reduce household waste while creating a nutrient-rich amendment for your garden. If you’ve been tossing banana peels and coffee grounds into the trash, it’s time to rethink those "waste" items—they’re garden gold in the making! This beginner-friendly guide will walk you through the basics of composting at home, including tips on getting started, what to include (and avoid), and how testing your compost can take your results to the next level.

Why Compost?

Composting is a natural process that turns organic materials like kitchen scraps and yard waste into a nutrient-dense material called humus. The benefits are endless:

  • Reduce landfill waste: Up to 30% of household waste can be composted.
  • Save money: Compost improves soil health, reducing the need for chemical fertilizers.
  • Boost plant growth: It provides essential nutrients that help plants thrive.


Getting Started with Composting

Starting a compost pile or bin at home is easier than you might think. Here’s what you’ll need to get started:

  1. Pick Your Spot
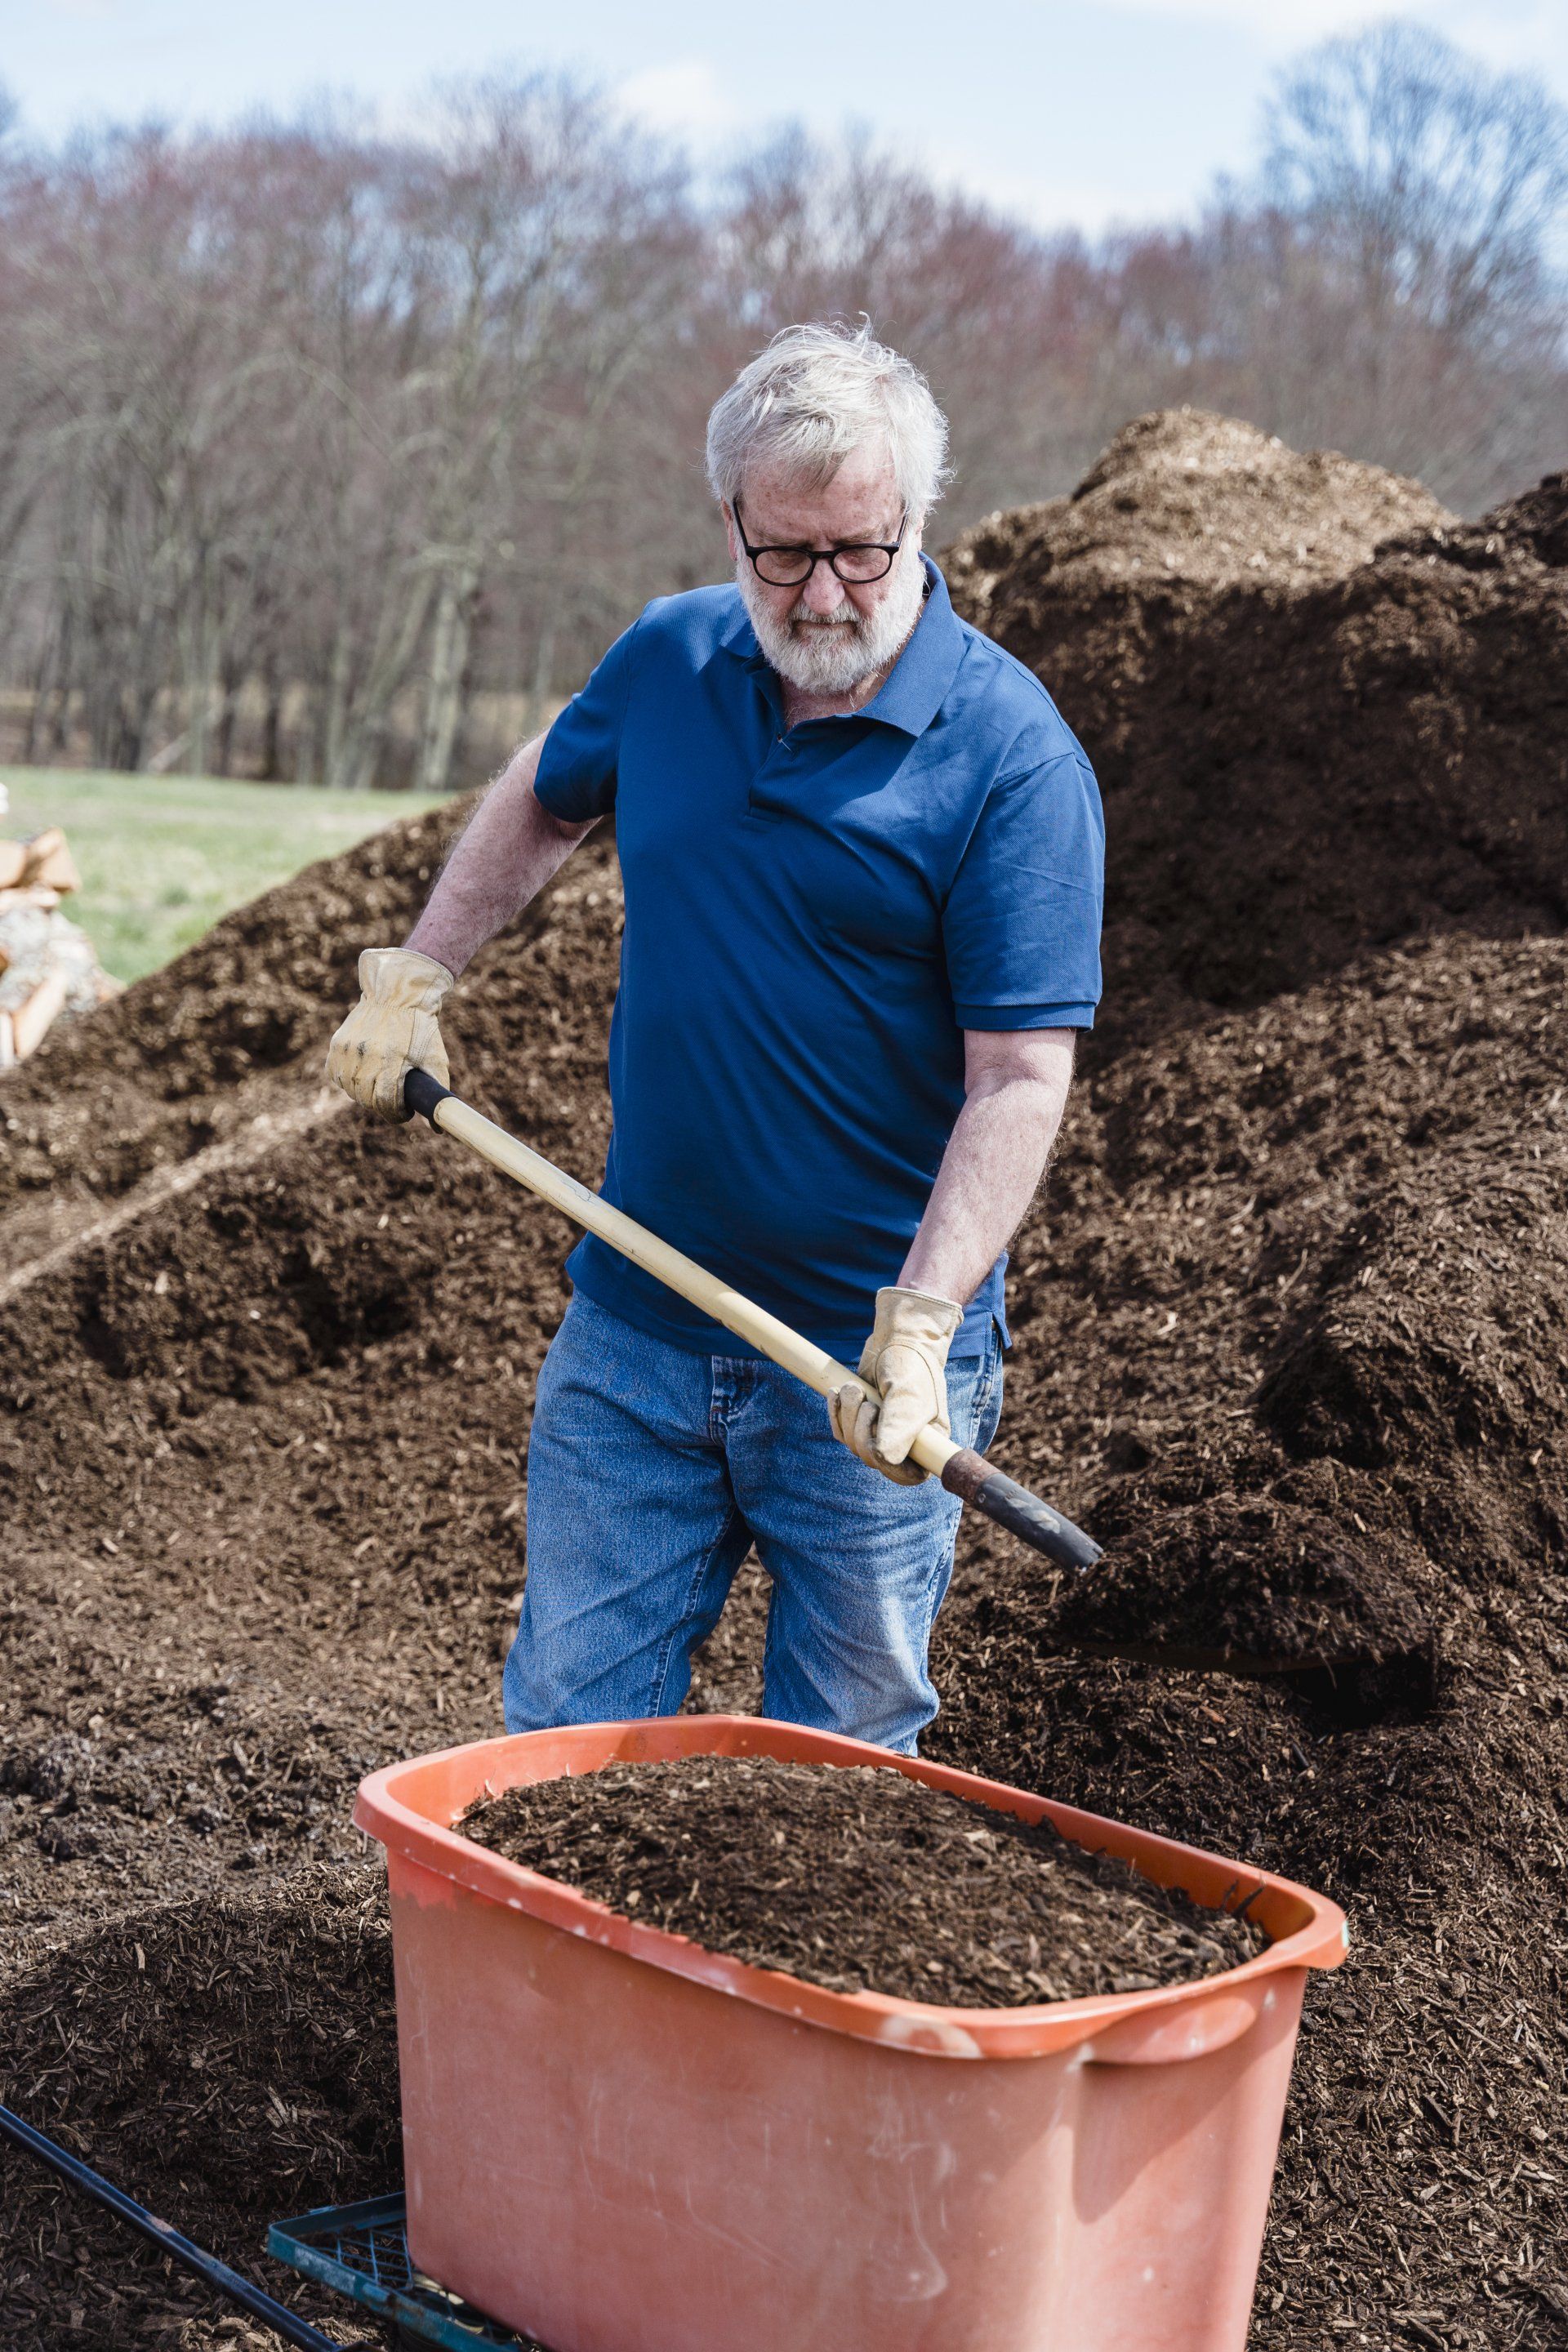
    Choose a location for your compost bin or pile. A shaded, well-drained area is ideal. If you’re tight on space, a compact compost tumbler works well for patios or small yards.
  2. Select Your Bin
    While you can create a compost pile directly on the ground, many beginners prefer a bin to keep things tidy and contained. Look for bins with good ventilation to help the composting process.
  3. Understand the Basics
    Composting relies on a balance of "greens" (nitrogen-rich materials) and "browns" (carbon-rich materials).
  • Greens: Fruit and vegetable scraps, coffee grounds, grass clippings.
  • Browns: Dry leaves, shredded paper, cardboard, straw.

A good rule of thumb is a 2:1 ratio of browns to greens. This balance ensures proper decomposition without unpleasant odors.

  1. Layer and Aerate
    Layer greens and browns as you add materials to your bin. Turn the pile every week or two to add oxygen, which speeds up decomposition.
  2. Water It Down
    Your compost pile should feel like a damp sponge—not too wet or too dry. Sprinkle water as needed to maintain moisture.


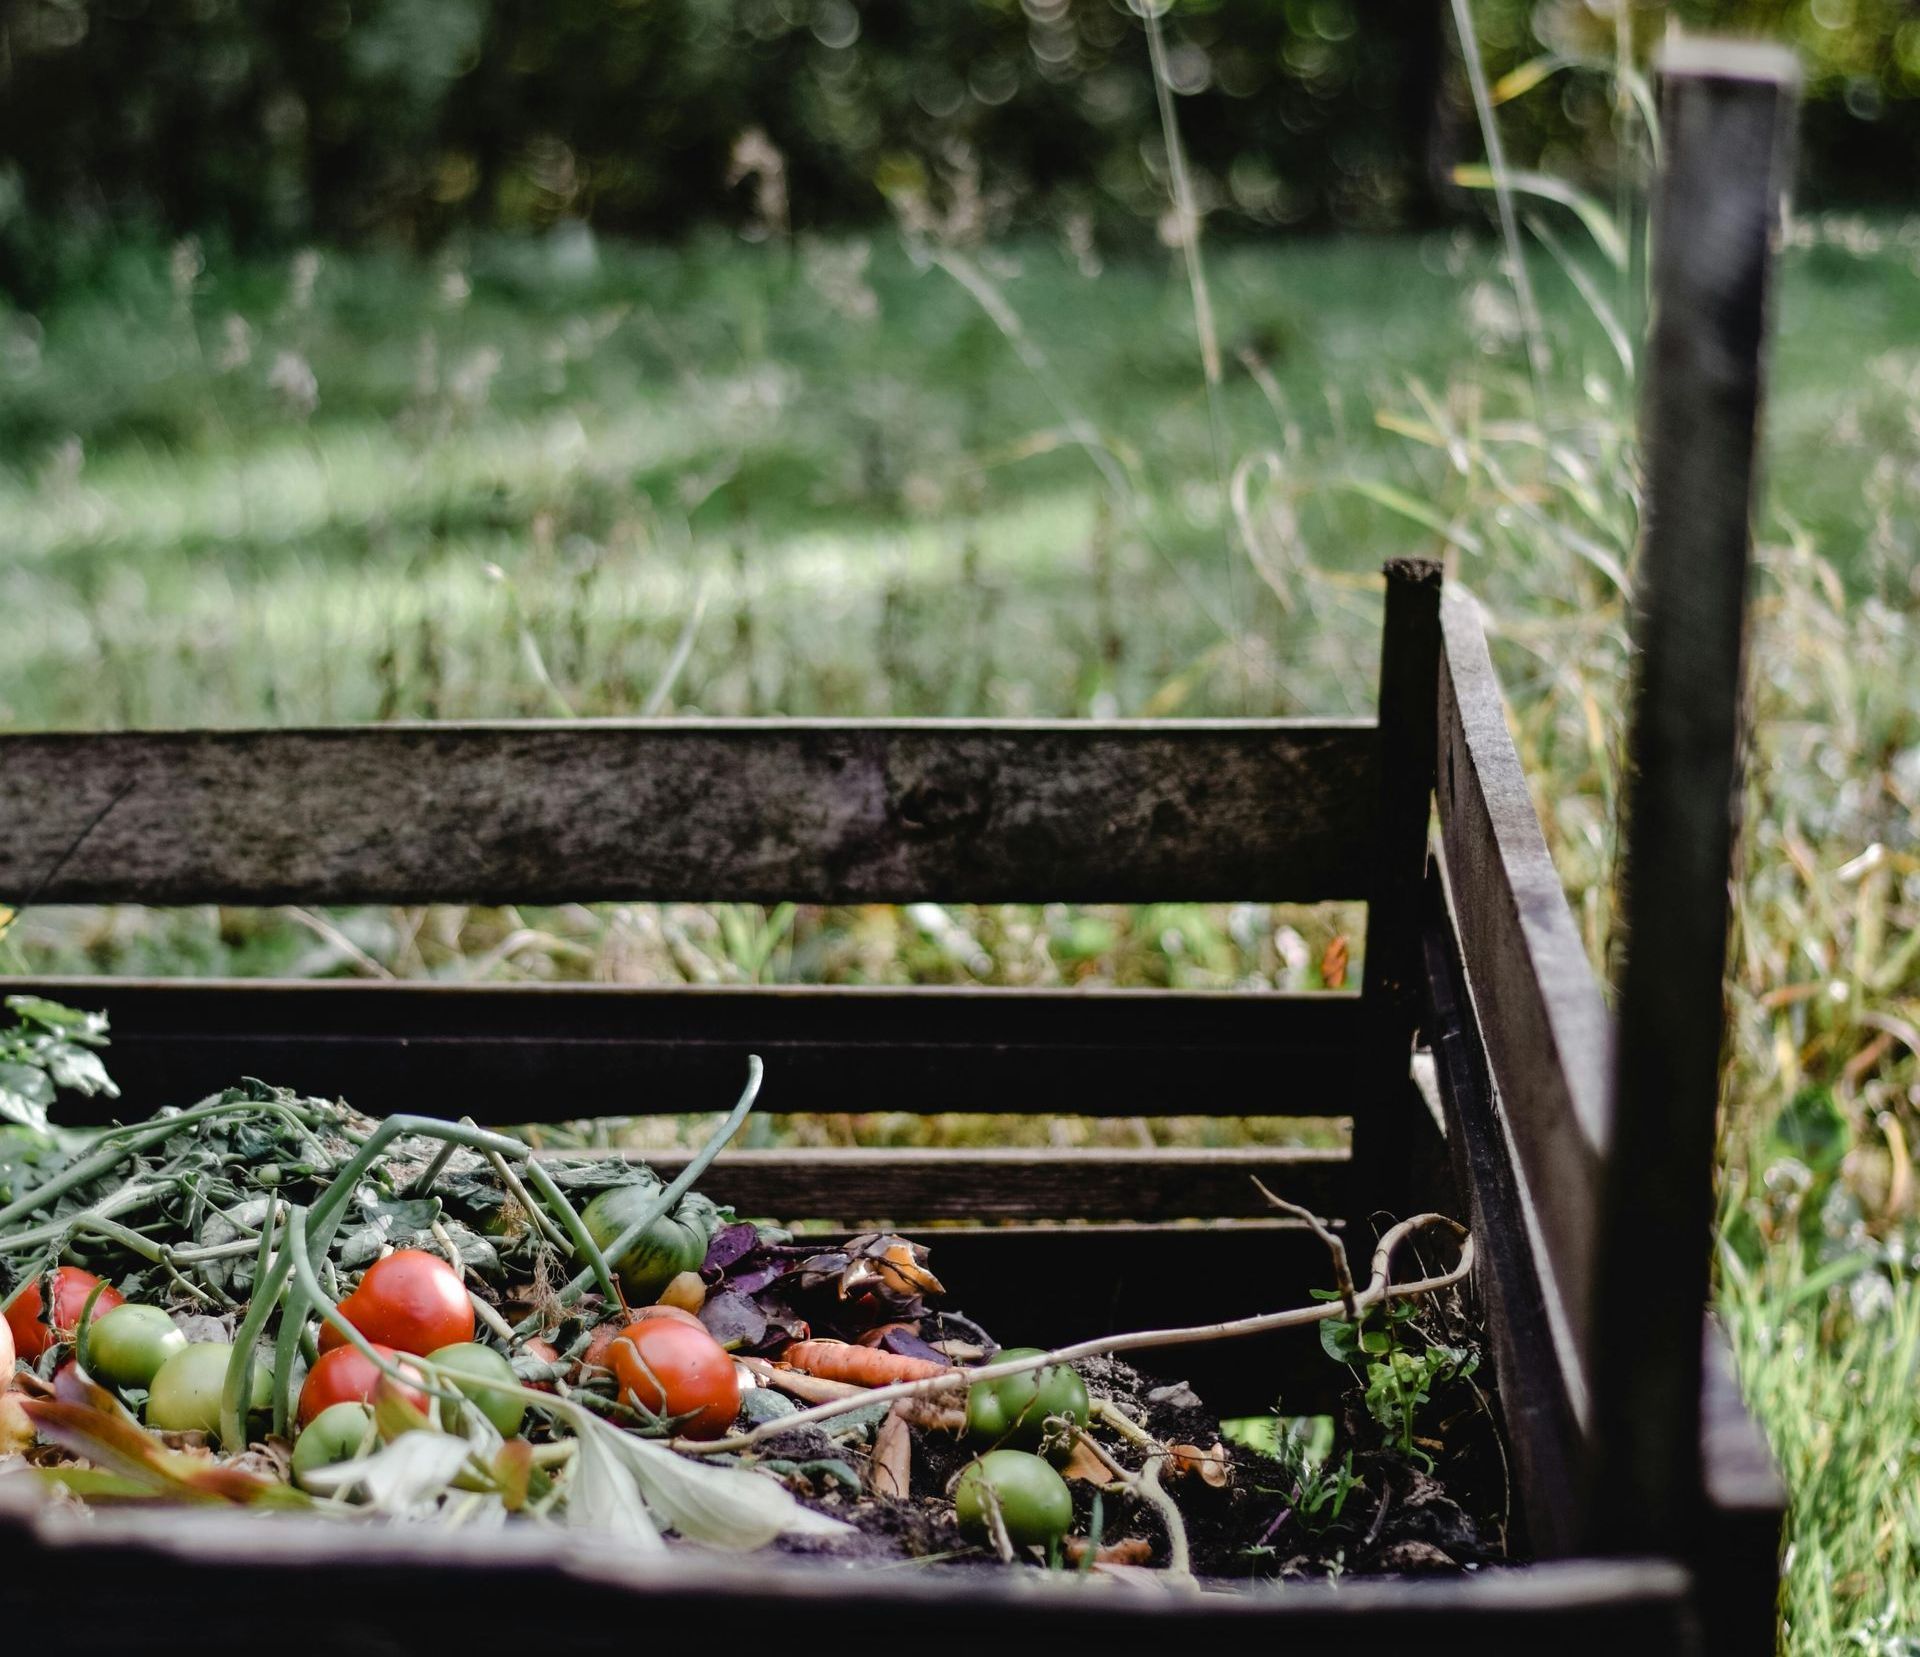
What to Include—and What to Avoid

Not everything belongs in your compost pile. Here’s a quick cheat sheet:
✅ Compost These:

  • Fruit and veggie scraps
  • Coffee grounds and tea bags
  • Eggshells
  • Grass clippings
  • Dry leaves
  • Shredded paper (uncoated)

❌ Avoid These:

  • Meat, dairy, and oily foods (they attract pests)
  • Pet waste
  • Diseased plants
  • Plastic, glass, or synthetic materials


How to Know When Your Compost is Ready

Compost is ready when it’s dark, crumbly, and earthy-smelling. Depending on your method, this can take anywhere from a few months to a year. Patience is key!

The Role of Compost Testing

To ensure your compost is as nutrient-rich as possible, consider testing it before use. Compost testing can reveal critical details like nutrient levels, pH, and potential contaminants. At TPS Lab, we offer professional compost testing services to help you fine-tune your blend and meet the specific needs of your garden. Whether you’re growing vegetables, flowers, or lawns, our reports will guide you on the best ways to use your finished compost.

Testing ensures your compost is balanced and ready to nourish your plants without overloading your soil with unnecessary elements. Learn more about our testing services here.

Common Challenges and How to Overcome Them

  • Problem: Your compost pile smells bad.
    Solution:
    Add more browns (like dry leaves) and turn the pile to improve aeration.


  • Problem: The pile isn’t breaking down.
    Solution:
    Check your moisture levels and greens-to-browns ratio. Too dry? Add water. Too much green? Add browns.


  • Problem: Pests are invading the pile.
    Solution:
    Avoid adding meat, dairy, or oily foods. Cover kitchen scraps with a layer of browns.

Start Composting Today!

Composting at home is an easy, eco-friendly way to recycle waste and boost your garden’s productivity. With the right balance of materials, regular aeration, and a little patience, you’ll have nutrient-packed compost ready to feed your plants in no time.

And don’t forget—if you want to take your composting to the next level, TPS Lab is here to help with our expert testing services. Compost smarter, not harder!


Let’s turn your scraps into success. Ready to start your composting journey?

TPS Lab's Blog

By Joe Pedroza May 5, 2025
Understanding the True Value Behind the Price Tag
By Joe Pedroza April 30, 2025
As summer sets in across much of the country, crops enter one of the most demanding phases of their life cycle. With increased heat, active fruiting, and water stress, nutrient uptake becomes more unpredictable. Even the most well-fertilized soils may fall short in delivering the right nutrients at the right time. That’s where mid-season plant tissue testing becomes an invaluable tool. Why Soil Tests Alone Aren’t Enough Soil tests provide a vital baseline before planting, helping you understand what's available in the root zone. But as the season progresses, multiple factors can interfere with nutrient uptake: Heat stress and limited moisture reduce nutrient movement in soil, making it harder for roots to access nutrients even when they're present. Soil pH shifts —common as microbial activity changes—can lock up nutrients like phosphorus, zinc, or iron, rendering them unavailable to plants. Plant demand changes rapidly during flowering and fruiting, meaning nutrient requirements evolve faster than soil reserves or slow-release fertilizers can respond. A mid-season tissue test reveals what the plant is actually absorbing, not just what’s in the soil. What Tissue Testing Tells You A tissue test provides a real-time snapshot of the plant’s nutritional status. It helps identify: Early signs of nutrient deficiencies , often before symptoms show up visually. This allows for preventative correction, rather than trying to fix a visible problem too late in the season. Imbalances between key nutrients , such as excess nitrogen suppressing calcium uptake, or low magnesium reducing potassium efficiency. Uptake issues caused by stress , poor irrigation practices, or compacted root zones—especially important in summer when evapotranspiration is high and root efficiency is lower. Tissue testing gives you the insight needed to make targeted nutritional corrections , optimizing fruit set, size, and quality. When and How to Tissue Test For most fruiting crops, ideal sampling windows include: Just before flowering , when nutrient demand is about to spike. Early fruit development , to support strong cell division and prevent blossom-end disorders. Mid-season (peak fruit load) , when nutrient draw is at its highest and deficiencies are most likely to develop. Select healthy, recently matured leaves from a representative section of the field. Avoid leaves with obvious damage, disease, or pest activity. Consistency in sampling location and leaf age is critical for accurate comparisons over time. At TPS Lab, we provide detailed sampling instructions and fast turnaround times, so you can act before yield is compromised. Common Summer Deficiencies to Watch For Even in fertilized fields, these nutrients often fall short under summer stress: Potassium (K): Crucial for water regulation, sugar transport, and fruit development. Deficiencies can cause uneven ripening, poor flavor, and lower yields. Calcium (Ca): Required for cell wall strength and fruit quality. Limited uptake often causes blossom end rot in tomatoes and peppers or tip burn in leafy greens. Magnesium (Mg): A central component of chlorophyll. Magnesium deficiency can lead to interveinal yellowing and poor photosynthesis, especially under intense sunlight. Micronutrients (Boron, Manganese, Zinc): These trace elements play vital roles in pollination, enzyme function, and hormone regulation. Even minor deficiencies can lead to poor fruit set or malformed growth. How to Act on Results Once your results are in, use them to tailor your in-season fertility program. Depending on the crop and severity, this might involve: Adjusting fertigation blends to include more soluble potassium or micronutrients based on test results. Applying foliar sprays for immediate correction, especially for mobile nutrients or in cases where soil uptake is impaired. Incorporating amino acid-based fertilizers or biostimulants to enhance nutrient absorption, increase stress tolerance, and promote balanced growth without risking burn or over-fertilization. TPS Lab consultants can help interpret your report and recommend specific products or strategies—whether that includes our own solutions like Nitro P9 or CSL+ , or broader categories suited to your operation. Stay Proactive, Not Reactive By integrating tissue testing into your summer crop management, you shift from guesswork to precision. Avoid late-season surprises, improve fruit quality, and maximize your ROI with simple mid-season monitoring.  Ready to test? Click here to submit a sample or call us at 956-383-0739 to speak with a consultant.
By Joe Pedroza April 17, 2025
And Stop Wasting Money on Products That Don’t Work
Show More